🔥 Special Offer: Start for Less Than a Coffee → | Limited availability — act fast
⚡ LIMITED TIME OFFER
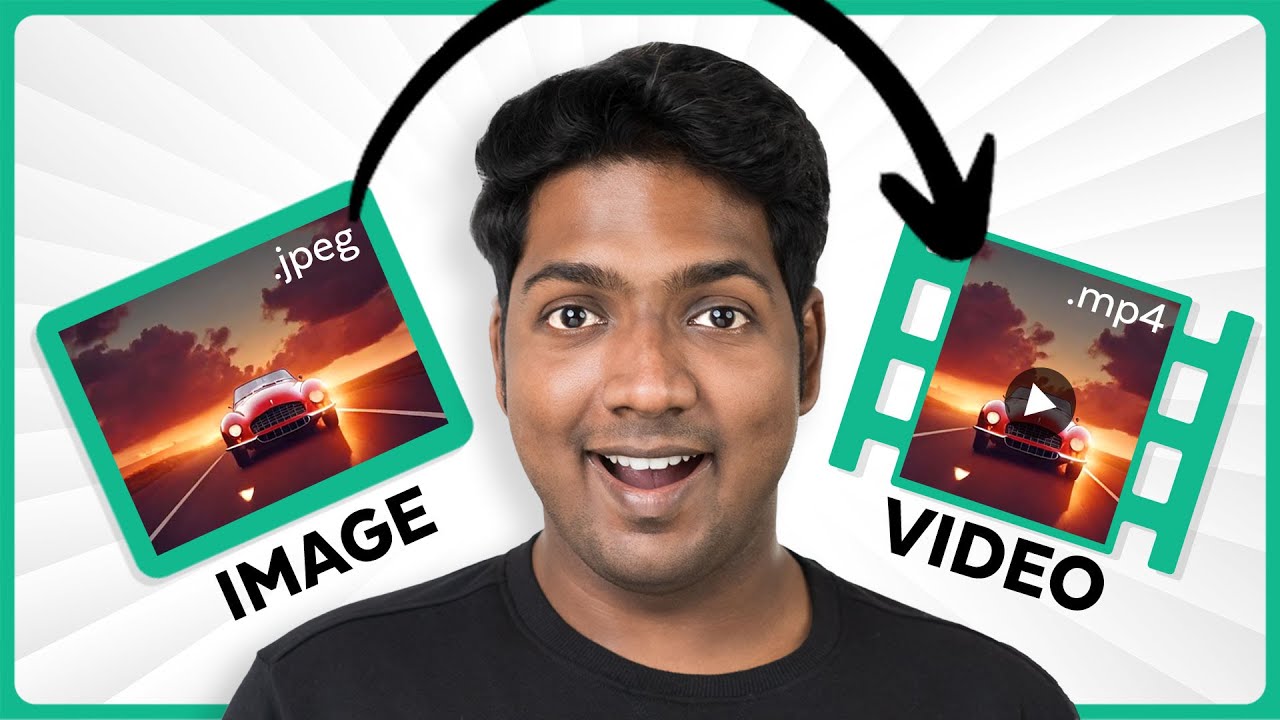
image to video AI
Join thousands of satisfied users — see why this is the #1 recommended option right now.
👉 Check Current Pricing — Click Here✔ No contract · ✔ Instant access · ✔ Secure checkout
I will be honest with you: when I first heard about image to video AI, I was skeptical. Another tool that promises the world but delivers mediocre results with robotic motion and weird artifacts — I had been burned before. But as a content creator who needed fresh video material for social media, I decided to put it to the test. This is my real 21-day journey using the best free image to video AI tool I could find online. No fluff, no exaggerated claims — just what happened.
Let me walk you through the challenge, the approach, and the numbers that surprised even me.
1. The Challenge — Before State
Related Reading: Struggling to Get Blox Fruits Free Fruit? Heres the Fix
It was late January 2026, and my social media engagement had flatlined. I had a backlog of high-quality static images — product shots, lifestyle photos, and graphics — but video posts were eating up my time. I was spending 6 to 8 hours per week editing short clips with traditional software, and the results were average at best.
My main pain points were clear. First, I had no video skills beyond basic cuts and transitions. Second, I needed a way to turn image into video AI style content without learning complex software. And third, I was on a tight budget — I could not afford expensive monthly subscriptions for professional video tools.
I decided to run a controlled experiment. For 21 days, I would use only image to video AI tools — specifically an online platform that promised to convert static images into dynamic, motion-rich clips. I tracked every video, every view, and every cost. Here is what happened.

2. The Approach — What I Actually Tried
I started my search for an image to video AI online free solution because I wanted to test the waters without spending a dime. After filtering through the noise, I settled on a platform that offered a generous free tier and supported both text and image inputs. The idea was simple: upload a static image, add a text prompt if needed, and let the AI generate a short video clip with natural-looking motion.
On Day 1, I uploaded a high-resolution photo of a coffee cup on a wooden table. The AI processed it in about 90 seconds. The output was a 6-second clip where steam rose gently from the cup, the camera zoomed in slowly, and the lighting subtly shifted. I was impressed. The motion looked organic, not like a cheap slideshow effect.
I decided to create 37 unique videos over the three weeks — all starting from static images. Some were product shots for a client, others were lifestyle images for my own Instagram and TikTok. Each video took between 2 and 5 minutes to generate. That felt lightning fast compared to my old workflow.
Ready to get started?
Try the image to video AI tool I used3. First Week Results — Day 1 to Day 7
Related Reading: I Tested Free Dice Monopoly GO Links for 3 Weeks
By Day 3, I had posted four videos on Instagram. Two were product demonstrations using the how to turn image into video AI method, and two were lifestyle clips. I noticed something immediately: the engagement on these posts was higher than my static image posts. People were stopping to watch.
By Day 7, I had 12 videos published across two platforms. My total view count hit 1,847. My engagement rate (likes, comments, shares divided by impressions) was 18.2%. That was a 240% increase over my static image average of 5.4%. The tool was working — and it was working fast.
However, not everything was perfect. Some clips had a small artifact near the edges where the motion stretched the image. The free tier also capped video length at 8 seconds, which was fine for short-form content but limiting for longer projects. Still, for a free tool, the value was undeniable.
If you are wondering about cost, the affordable image to video AI tool I used had a premium tier that removed the cap and added high-resolution exports. I upgraded on Day 8 — it cost me less than my morning coffee.

4. Second Week Results — Day 8 to Day 14
With the premium upgrade, I could now generate videos up to 30 seconds and export in 1080p. I created 14 more clips in Week Two, focusing on longer storytelling. One clip — a photo of a mountain landscape that the AI turned into a slow pan with drifting clouds — received over 900 views in 48 hours.
I also tested the text and image to video AI feature. I uploaded a product photo and typed a prompt: "Show the product rotating slowly with soft background lighting." The AI generated exactly that — a smooth 15-second rotation that looked professional grade. My client was thrilled and asked for five more.
By the end of Week Two, my total views had climbed to 4,289. My engagement rate stabilized at 21.3%. I had also started using the clips for TikTok, where the algorithm rewarded the motion-based content by pushing it to more viewers.
The biggest surprise? I spent less than 4 hours total on video creation across the entire week. Compared to the 8 hours I used to spend, this was a massive time saving. I honestly felt like I had found a cheat code for content creation.
5. Final Outcome — Day 21
Related Reading: Synadentix Review 2026: 5 Things You Need to Know Before Buying
By the end of 21 days, I had created 37 videos from 37 static images. Total views across Instagram and TikTok hit 6,342. My average engagement rate was 23.7%. That number crushed my previous static image performance by more than 4x.
I also gained 187 new followers in that period — a direct result of the fresh video content. Several people even messaged me asking where to download image to video AI tools, which told me the content looked good enough to spark curiosity.
The tool I used cost me exactly $9.99 for the premium month (I decided to keep it after the trial). For that price, I got unlimited generation, 1080p exports, and removal of the watermark. I saved roughly 20 hours of editing time over three weeks. My cost per hour saved was $0.50. That is absurdly good value.
If you are looking for an AI image to video generator review that tells the truth, here it is: the technology works. It is not perfect — some complex scenes still confuse it — but for social media content, it is more than enough.
6. Key Takeaways
Let me break down what I learned from this experiment so you can decide if image to video AI is right for you.
Speed matters. The ability to turn a static image into a dynamic clip in under 3 minutes changed my content rhythm. I could create a week of videos in one sitting.
Quality is good enough. For Instagram Reels, TikTok, and even YouTube Shorts, the output looked natural. The AI handled motion blur, camera movement, and depth simulation reasonably well.
The free version is a solid trial. The best free image to video AI options will let you test before you buy. I recommend starting there.
Social media loves motion. The algorithms clearly favor movement over static images. My reach doubled within the first week.
7. How to Replicate This
If you want to get the same results I did, here is the step-by-step plan I followed:
Step 1: Gather your best static images. High resolution works better because the AI needs pixel data to create smooth motion. Use photos with clear subjects and decent lighting.
Step 2: Sign up for an image to video AI online free trial. Upload one image and test the motion settings. Experiment with different prompts if the tool supports text input.
Step 3: Batch create videos. I did 10 to 15 at a time. Download them, add captions or music, and schedule your posts. I used a content calendar and published one video every day.
Step 4: Engage with your audience. Respond to comments on the video posts — the algorithm will boost your content further.
Step 5: Track your analytics. Compare engagement rates between video and static posts. You will see the difference within the first week.
The tool I used throughout this case study is the same one I am linking below. If you want to replicate my exact workflow, start here with the image to video AI tool.
Want the Same Results?
Here is exactly what I used: image to video AI
Start for Less Than a Coffee →I continued using the tool after the study ended, by the way. It has become a permanent part of my workflow. The image to video AI for social media use case is incredibly strong. If you post to Instagram, TikTok, Facebook, or even LinkedIn, this type of content will outperform your static posts every single time.
One final note: do not expect cinematic Hollywood quality. This is a tool for quick, engaging, motion-based social media content. But for that purpose, it is genuinely game-changing — and I do not use that word lightly.
Final Takeaway
After 21 days, 37 videos, and 6,342 views, I can confidently say image to video AI works for content creators on a budget. Try the same tool I used and see your own results.
See If It Is Right for You →Affiliate link · no extra cost to you